
Okay, so I had spent a lot of time reading and reviewing a lot of different design blogs on how to refinish old furniture. But, I didn't think I could afford to purchase anything that was too expensive since we were in the throws of the very expensive adoption process. So, I decided I would check our neighborhood to see if anyone was willing to get rid of a dresser for cheap. I posted on our neighborhood website that I wanted a dresser to refinish. Lucky for me, a neighbor two doors down had one and it was CHEAP- $25 cheap!! I was ecstatic!! My adventures in refinishing could really begin.
I set out to purchase and locate my supplies, dragged my husband down to their house to carry the dresser back to our waiting garage and I got started. Actually, the dresser sat in our garage for a while before I decided to tackle it at all. After mulling over images on Google of thousands of furniture redos, updos, etc. I decided on what I wanted and I formulated this perfect image in my head. After some wonderful advice from a great friend - thanks Nora- who had experience in furniture refinishing, I began.
Here are the supplies I had on hand or purchased:
- Motsenbocker's LIFT OFF Paint and Varnish Remover-- a wonderful WATER BASED GEL STRIPPER because I wanted a beautiful piece in the end that I could say was also created using GREEN products ( I really wanted to use this, but it wasn't tough enough to get through the varnish and poly on this old dresser so I was out $10.00 extra dollars) ---$9.97 for 32 oz

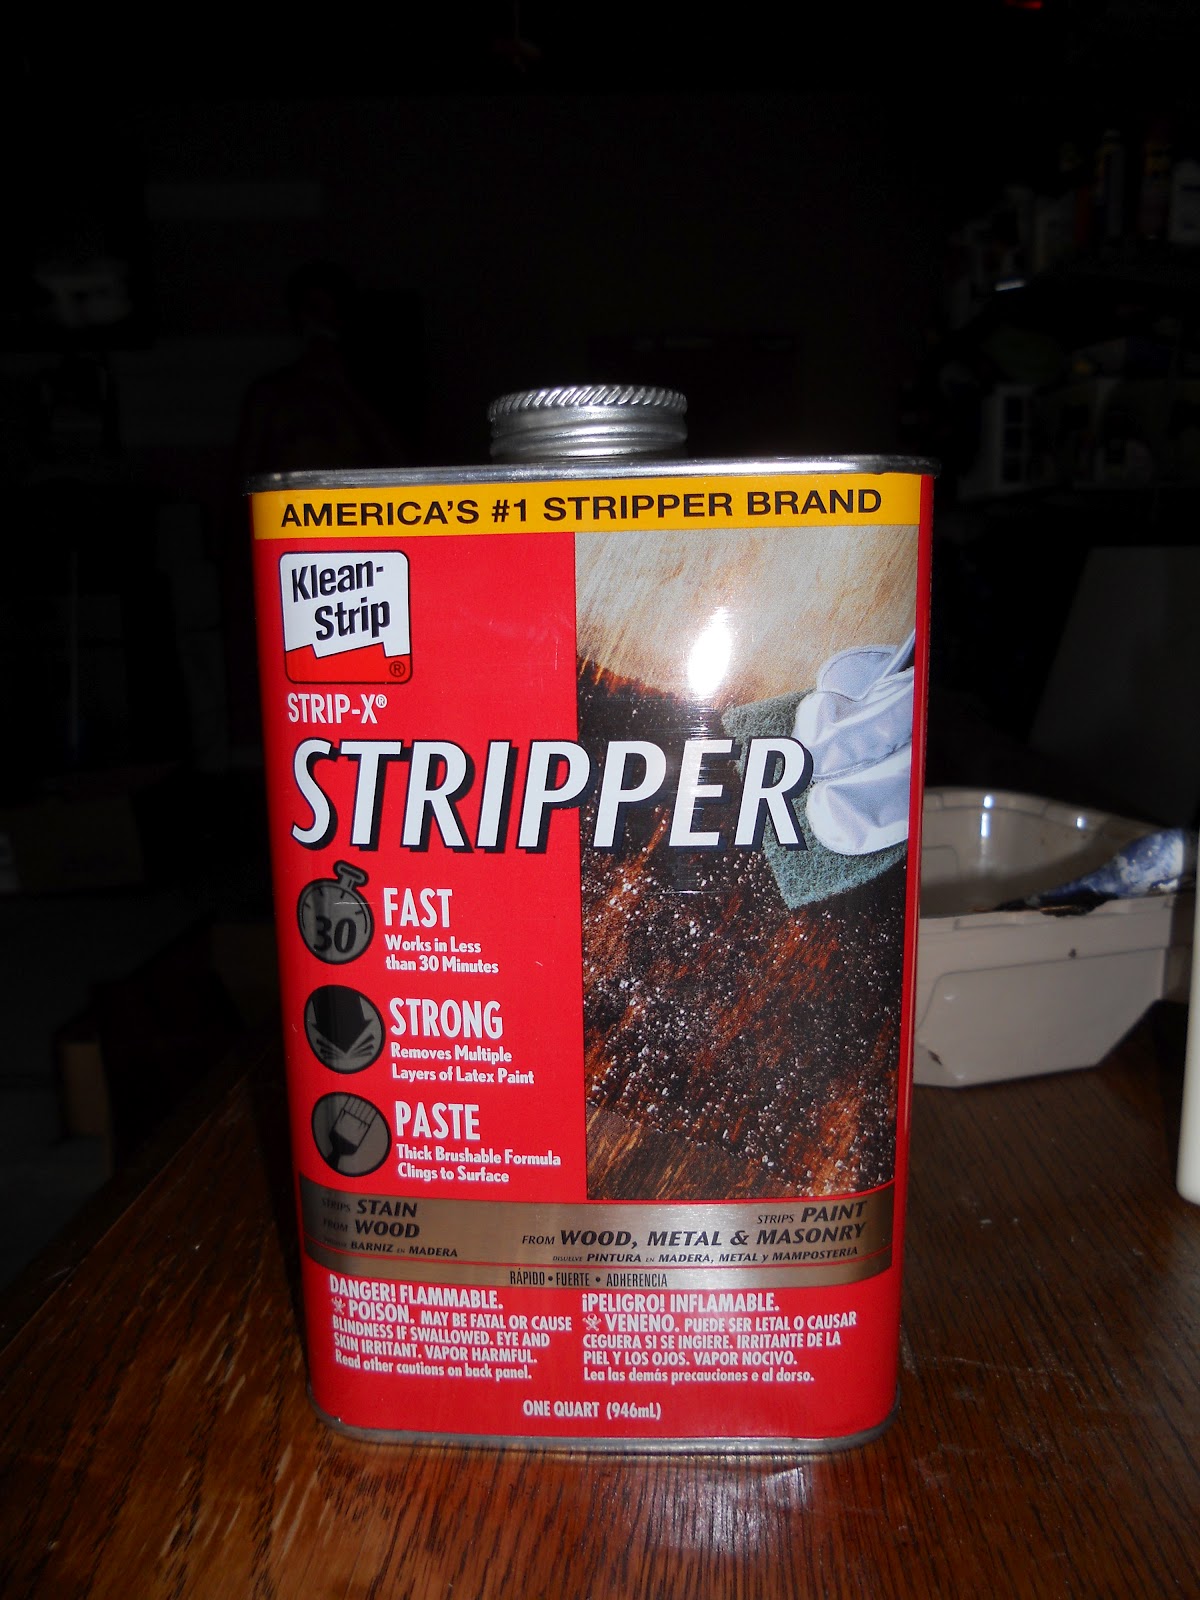
- Klean-Strip Strip X Stripper for stripping paint and varnish from wood, metal and masonry (second stripper-- not green at all-- my impatience coming out again ---$20.98 for 1 Gallon
- GripRite Medium Course Stripping Pad (had on hand)

- Stripping tool--- $0.98

- Chemical Grade Rubber Glove (had on hand)

- Steel Wool #00 Fine (had on hand)
- Paint-- Bought for $3.00 a gallon at Home Depot from the Oops Bin - A steal if I must say so myself (small container of bluish green paint for interior drawers was $0.50 in the Oops Bin)
- Polyurethane- Minwax Wood Conditioner at $11.47/Quart
- 1 Quart Primer- I used BullsEye 123 Primer in white- this brand of Primer is supposed to adhere to any material and stains should not seep through over time (Great stuff- just follow the directions of waiting for 7 days before adding a top coat of paint). This waiting time was crazy on my nerves. I wanted to get busy painting right away, but I waited. $9.47
- Stain Minwax Ebony $7.77/Quart
- 6 pieces of Scrapbook paper (50% off at Hobby Lobby at $0.59 each)
- Glue Api's Crafter's Pick The Ultimate! 8 oz at $5.99 (40% coupon Hobby Lobby for $3.60)
- Face Mask (had on hand) I wore this for most of the job, but realized after I could still smell the chemicals that this mask was not for working with oil based materials- I needed something stronger which I did not purchase, but will if I do another piece
- Screwdriver (had on hand)
- Paintbrushes- my favorite are Purdy (had on hand)
- Dresser- $25.00 from a neighbor
- Wood putty (had on hand)
- New drawer pulls (50% off at Hobby Lobby- originally $4.99) 6 pulls for $15.00
TOTAL COST: $108.78
STEPS FOR REDO:
1. Remove drawers, door and all hardware
2. Clean dresser-- I just wiped it down and vacuumed the dust from the inside (the neighbors had it in their garage a while)
3. Began stripping the top and drawers-- This went pretty well, but I did have to switch to a chemical stain after talking to my experienced friend ***Important note: The top, front and drawers of this dresser were solid heavy wood. For some reason, the sides were veneer. I couldn't strip the sides at all since the chemical stripper began to eat away at the veneer and caused uneven scratches. This is when I decided to stain the top of the dresser and paint the body and drawers.

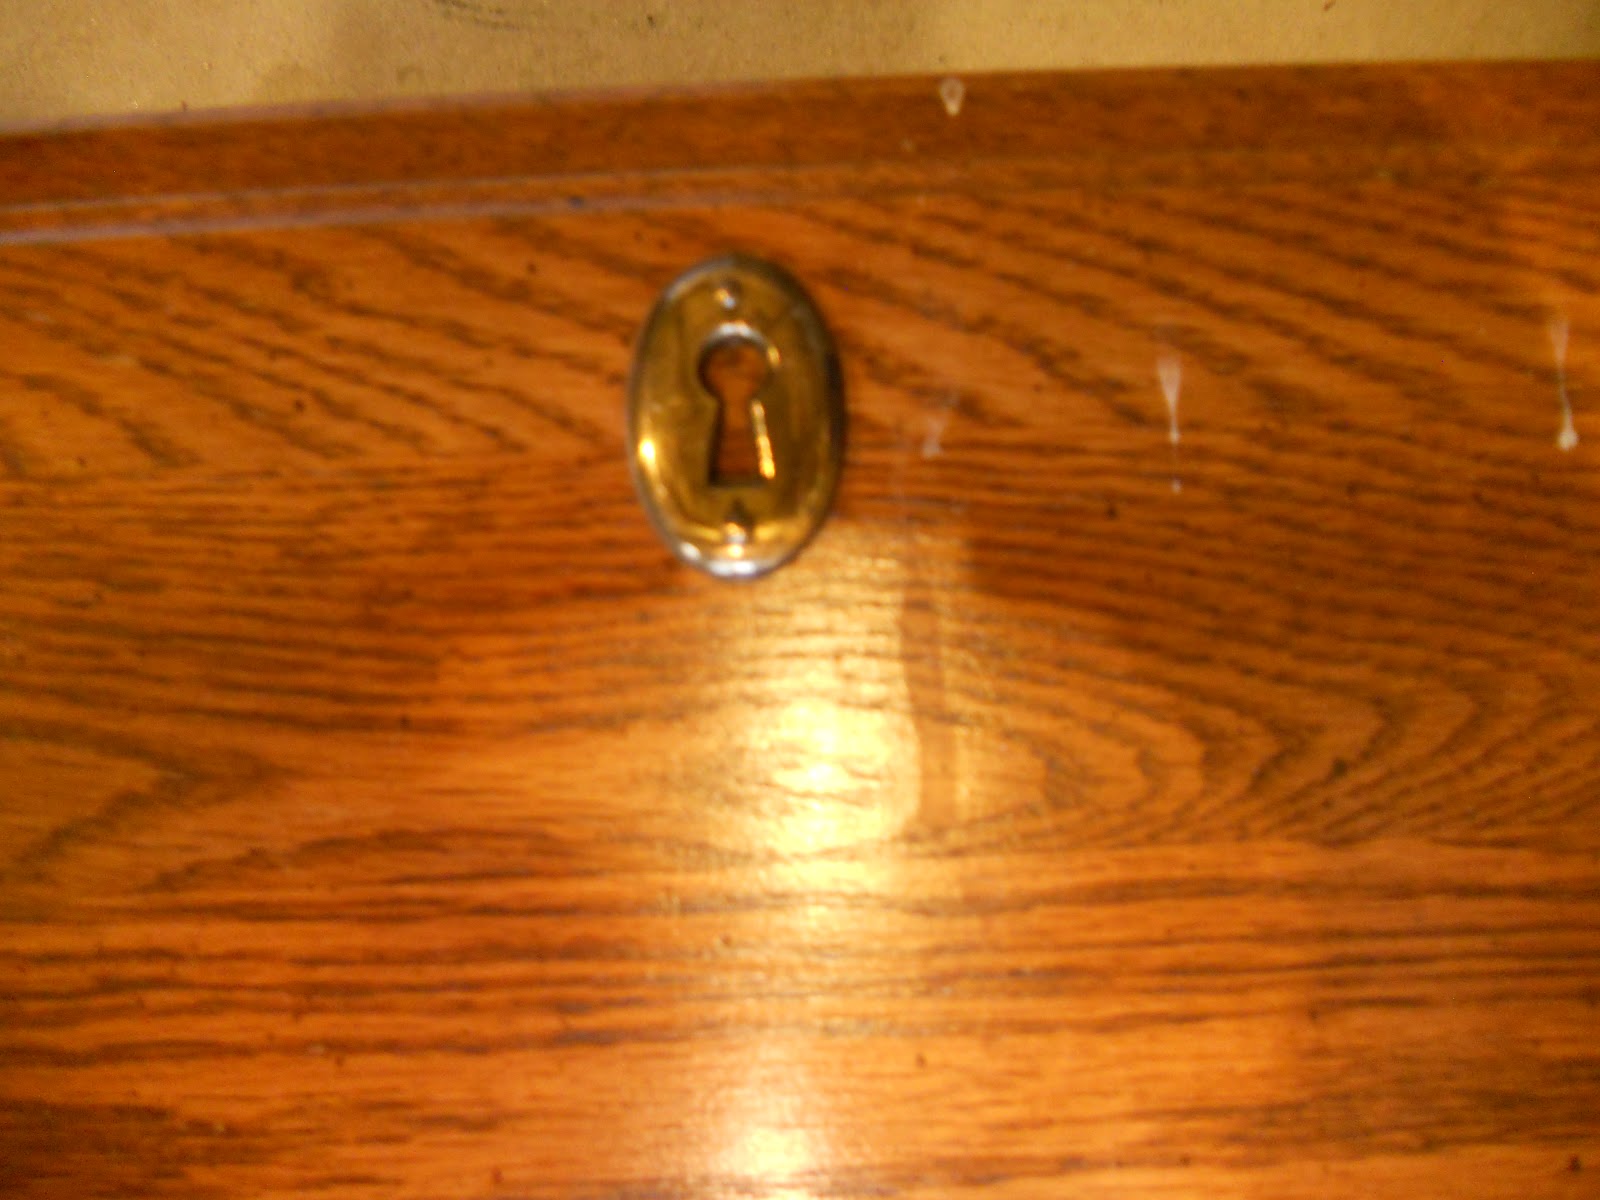
4. Add wood putty to holes from pieces I did not want to keep on the dresser. I knew I did not want to keep the keyhole decoration on the drawer fronts.
5. Prime the entire piece along with the drawers (all except the top of the dresser)


6. Stain the dresser top-- I decided I wanted the top of the dresser to be stained so I completely stripped the top and sanded it smooth. I only stripped the lacquer top from the rest of the dresser and Primed over the top of the rest on those parts (my impatience and the discovery of the GREAT PRIMER)


7. Stain the top of the dresser-- I wanted to do this first so I wouldn't get stain on a good paint job later
Make sure you FOLLOW ALL DIRECTIONS ON THE STAIN. I used a FOAM BRUSH to apply the stain. I LOVE THE COLOR it turned out to be. In the end, I used 3 coats of stain.

8. Paint the drawers and let them dry-- check and repaint a top coat if necessary.
9. Cut the craft paper to size and use glue to attach to the drawer fronts. I am slightly anal at this point. I cut the squares from different paper so that the pattern would fall in the same place on each drawer front. To ensure they were in order, I numbered the back of the pieces and then attached them to the drawers using the API'S CRAFTER'S PICK glue.


10. Polyurethane the dresser, dresser top and drawers. It is important to poly before adding the drawer pulls.
11. Add the drawer pulls. I did purchase new drawer pulls for the top, smaller drawers and I planned to use wide gross grain ribbon for the rest of the drawer pulls. I haven't quite finished that yet. A couple of the drawers stick a little when you try to open them (not due to my refinishing, but due to old age-- make sure you check for this when you purchase furniture-- I will check more carefully next time). I have decided to paint the drawer pulls that came off of the drawers originally since I kind of like their pattern. But, this is where I need to research some more. The completed dresser photos will be appearing after I complete this last part. I will also do that as a separate post in the DIY section. Don't ever throw anything away. I am keeping the knobs even though they are cheap plastic because they lend themselves to being covered with fabric and used on another piece.


EASY RIGHT!! I did learn a whole lot from this dresser redo and I must say it turned out just as I imagined. Some things to remember when purchasing used furniture are: 1) Check that the drawers and doors operate, 2) Check that there aren't any very deep scratches that may take more than elbow grease to repair, 3) Check to see if the piece is Veneer or real wood.
I am really looking forward to posting pictures of my dresser redo when it is completely finished. Soon, hopefully!!! What is the purpose of this dresser you ask? Well, it was originally going to sit in our living room to store games and DVDs, but it is now in our entryway. One drawer holds items we need as we leave the house such as sunglasses, sunscreen, bug repellent, keys. The smaller two interior drawers hold coupons and take out menus. The middle drawers hold dog items (leashes, clippers, poop bags, winter sweaters, etc.) and cards for birthdays. And, the lower two drawers which are the largest hold seasonal table decor items.
After the post of the final product, I would like to know what you would pay for a dresser redo such as this. That may help me gauge what I need to charge for future pieces. I plan to refinish more and post them in the Shop part of my blog.
 |
| Final picture of dresser redo. The drawers house items we need when we leave the house, dog items, seasonal decor, coupons, home binders, and one drawer for office items such as pens, paper, stapler, tape, etc. It is working GREAT!! |
 |
| This dresser began as a cohesive plan, but it ended up having coordinating pulls instead of all the same. Hobby Lobby was out of the dark brown when I went back : ( |
No comments:
Post a Comment